Preparations to build a wire harness.
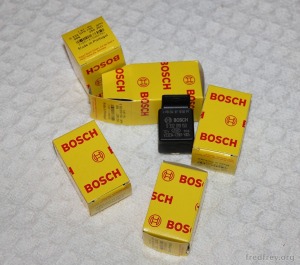
With the old harness analyzed and labeled I am now preparing to replicate it using all new modern wire and quality double crimp terminals that will be soldered on as well. Various items were ordered to help in creating the harness. All of the items were purchased from Amazon with the exception of the wire (Rhode Island WIre) and the Terminals (British Wire). The terminals are not photographed yet as they have not arrived. I plan on adding several relays to the system but will not build them into the harness at this time as I would like to locate them all in one place and it’s too hard to estimate the location with the harness out of the car. The relays: one pair for the high and high/low beam headlights, one for the fog lights and one for the starter.
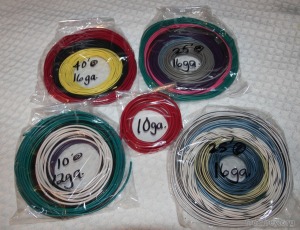
I’m very pleased with the service and quality of the wire. It looks just like the old harness (save for the yellow/black). The amount of wire ordered is listed below. I took a guess on the amounts and will post corrections when complete. The total came to $160.00
16 gage: 25′
Blue
White
Orange
Gray
Brown
Pink
Green
Purple
16 Gage: 40′
Red
Black
Yellow
16 Gage Strait Tracer: 25′
Blue/White
Blue/Black
White/Black
Yellow/Black
Grey/Black
Green/Black
16 Gage Single Spiral Tracer: 25′
White/Black
12 gage: 10′
Red
Green
Brown
Purple
Black
White
Green/Black
10 gage – 10′
Red
Also shown:
1) The relays. I paid extra to get real Bosch units. Hopefully they are worth it.
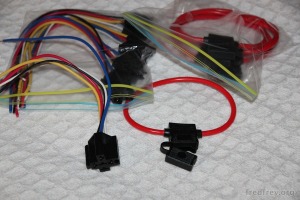
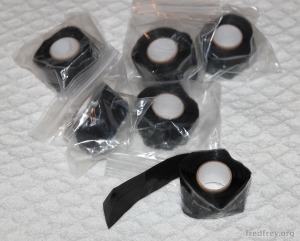
2) Relay holders. These cool units snap together and keep the relays in nice order. Inline fuses will be used along with the relays. 3) Self-fusing Silicone Tape – Amazing stuff. Too often mechanics will fix a harness with standard adhesive backed electrical tape. That stuff eventually turns into a gooey mess. This tape is non adhesive back but after wrapping it melds to itself forming a seamless and flexible waterproof tube with a temperature range of -65F to 500F!
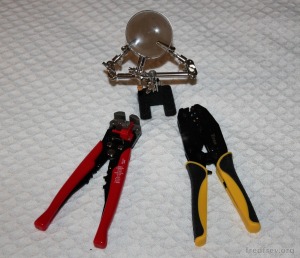
4)A set of decent quality crimpers and wire strippers and a tool to hold wire/terminals while soldering
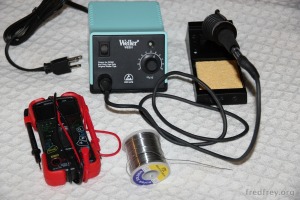
5) I splurged a bit and ordered a good quality soldering wand.
Next; laying out the wire.
